Locking a day stops anyone from changing shift assignments on it — useful once a period is finalised. This is an administrator action. This guide covers locking a single day, locking a date range, and what locking blocks. For opening the screen and the layout, see the Shift planning overview.
The whole flow at a glance (loops). Each step below explains one part.
1. Open Shift Planning
In the left menu, open the ADM tab (if shown), then the Shift Planning group, and select Shift Planning.
Load the month you want to lock. The lock controls described here appear only for administrators.
2. Lock or unlock a single day
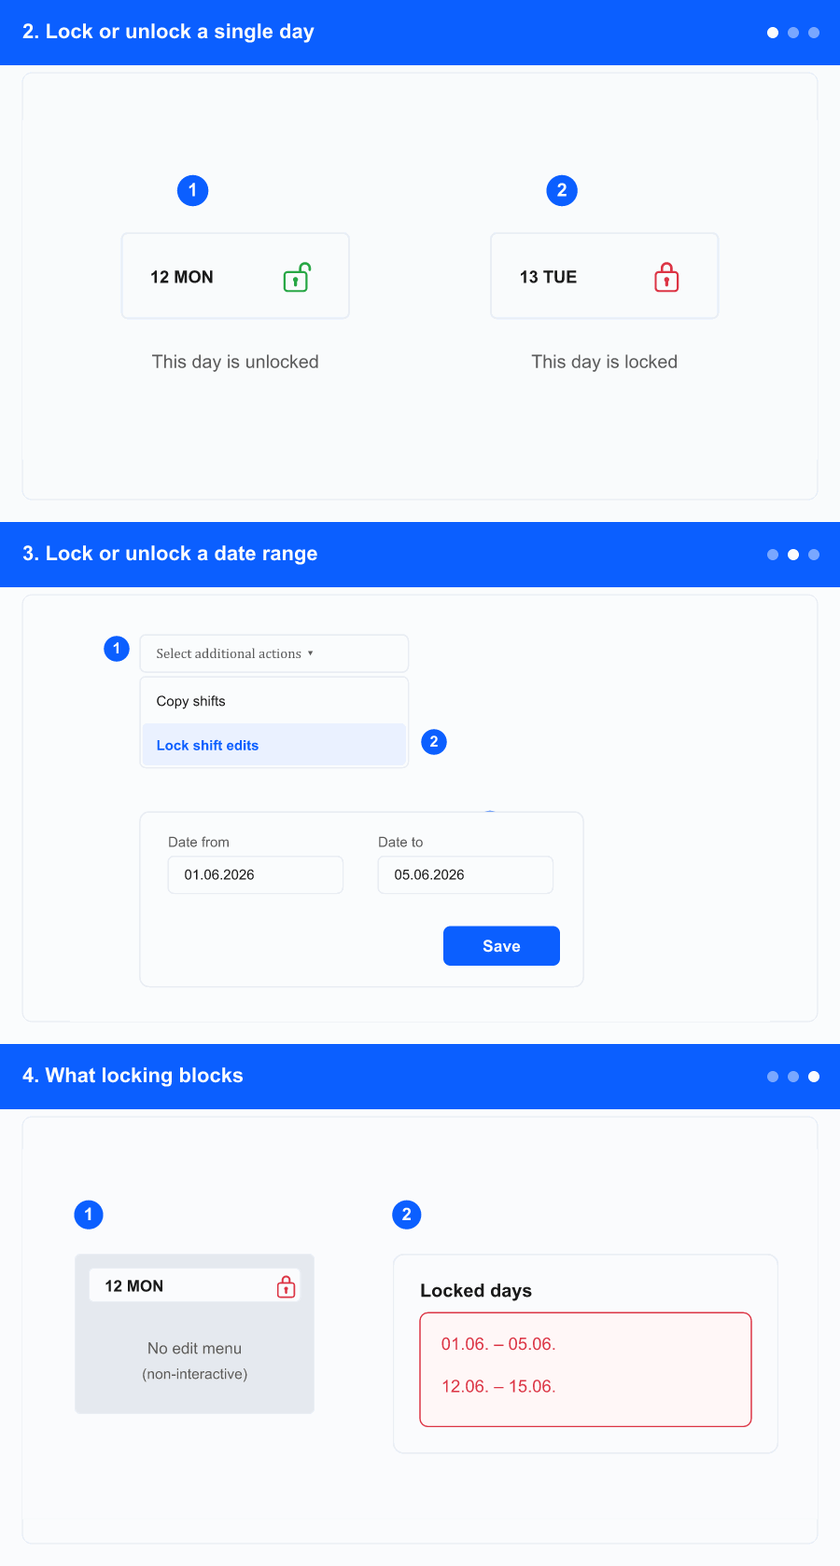
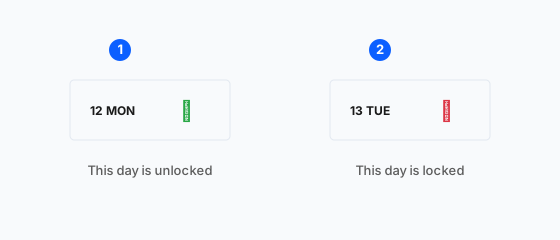
① green open padlock = unlocked (click to lock) · ② red closed padlock = locked (click to unlock).
Each day column header shows a padlock. A green open padlock means the day is unlocked; a red closed padlock means it's locked.
Click the padlock to toggle that day. Only administrators can click it; for everyone else it just indicates the state.
The tooltip confirms the state (for example This day is locked. Shift assignments cannot be modified.).
3. Lock or unlock a date range
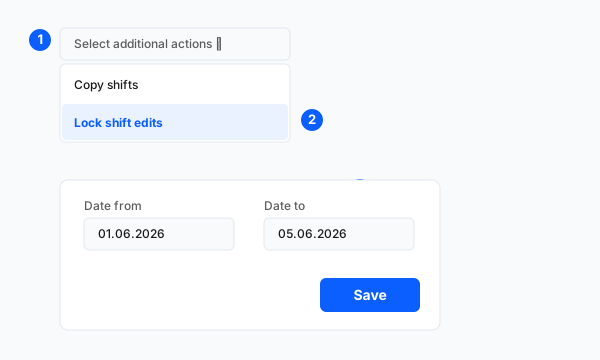
① open Select additional actions · ② choose Lock shift edits · ③ set Date From / Date To · ④ Save.
Open Select additional actions and choose Lock shift edits.
In the dialog set Date from and Date to (within the loaded month) and click Save to lock that range.
To reopen days, choose Unlock shift edits from the same menu and pick the range.
These options appear only for administrators.
4. What locking blocks
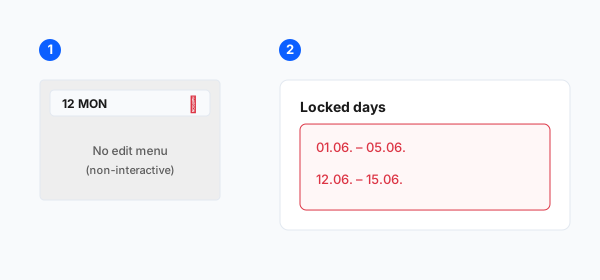
① a locked day cell can't be edited · ② dialogs warn which dates are locked.
On a locked day you can't add, edit or delete a shift — the cell doesn't open the edit menu.
When you assign or remove shifts across a range, a locked-days warning lists the locked date ranges; those days are skipped.
In Remove Event, absence rows on locked days show a padlock and can't be removed until the day is unlocked.